Forms Builder Integration
Empower a section, column or sublayout as a form area, set form fields and trigger actions after a successful submission.
Requirements
Make sure Essentials for YOOtheme Pro is installed and Forms Addon enabled.
How to enable Forms Addon
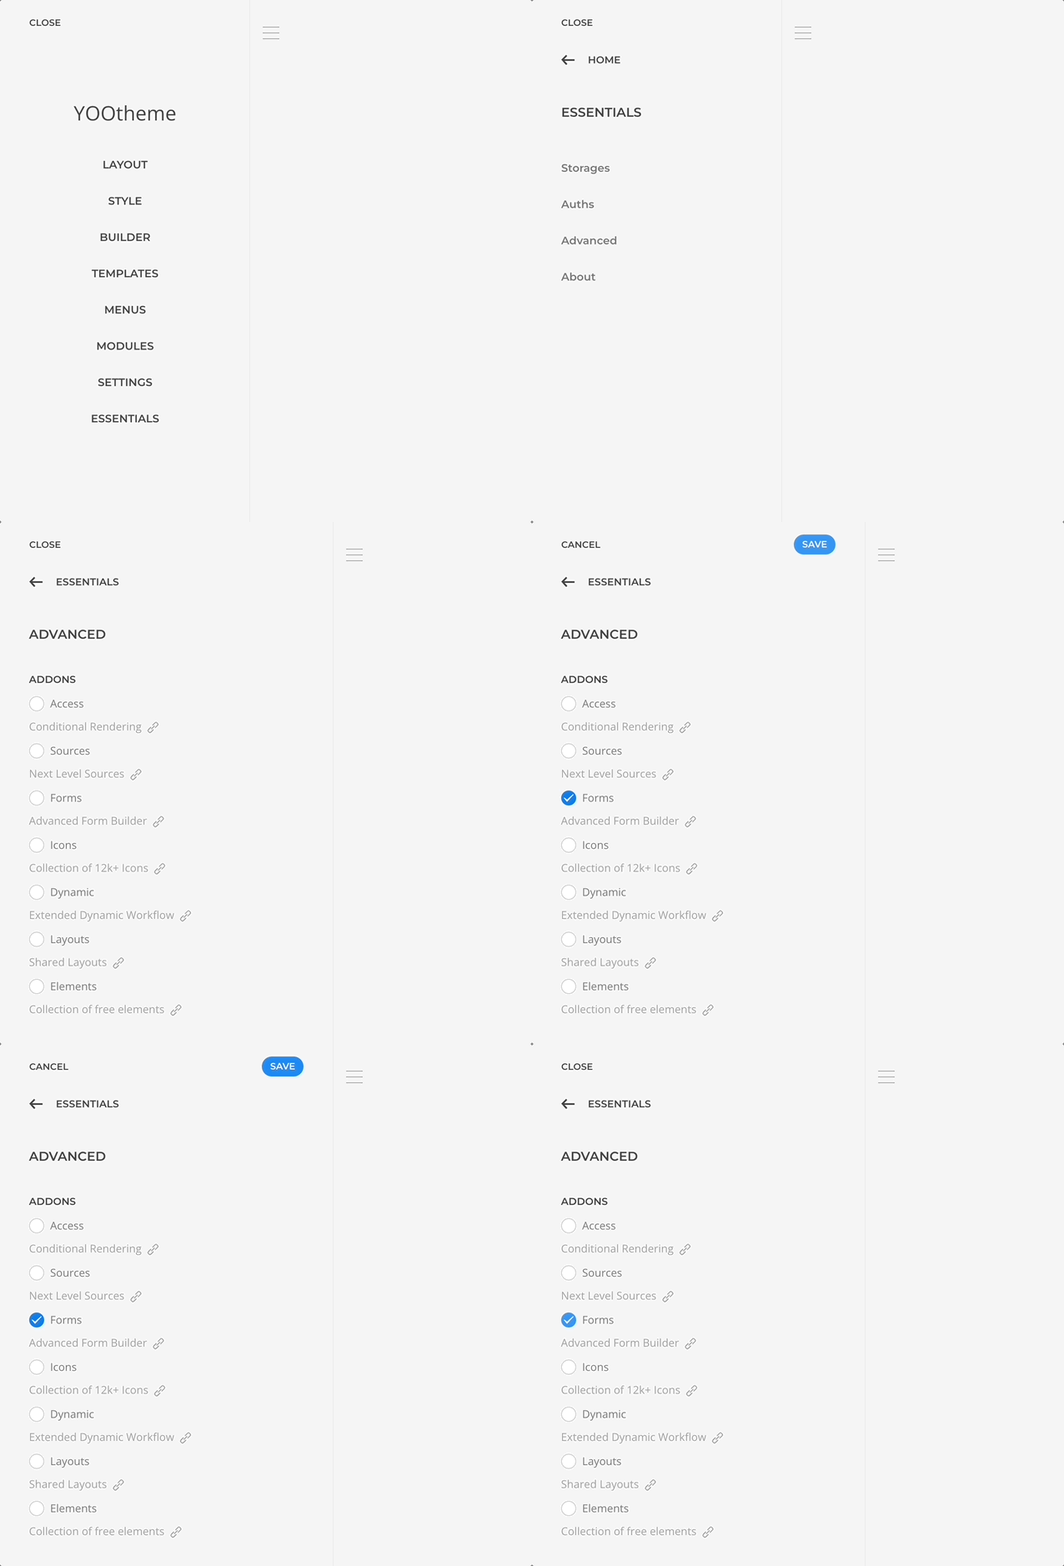
Open the Customizer -> Essentials -> Advanced panel and spot the Forms Addon checkbox. If is off, enable it, save the changes and refresh the page.
Notice that Forms is a premium addon not available in Essentials free release.
1. Create a Form Area
An Essential form is structured inside a form area. Lets create one.
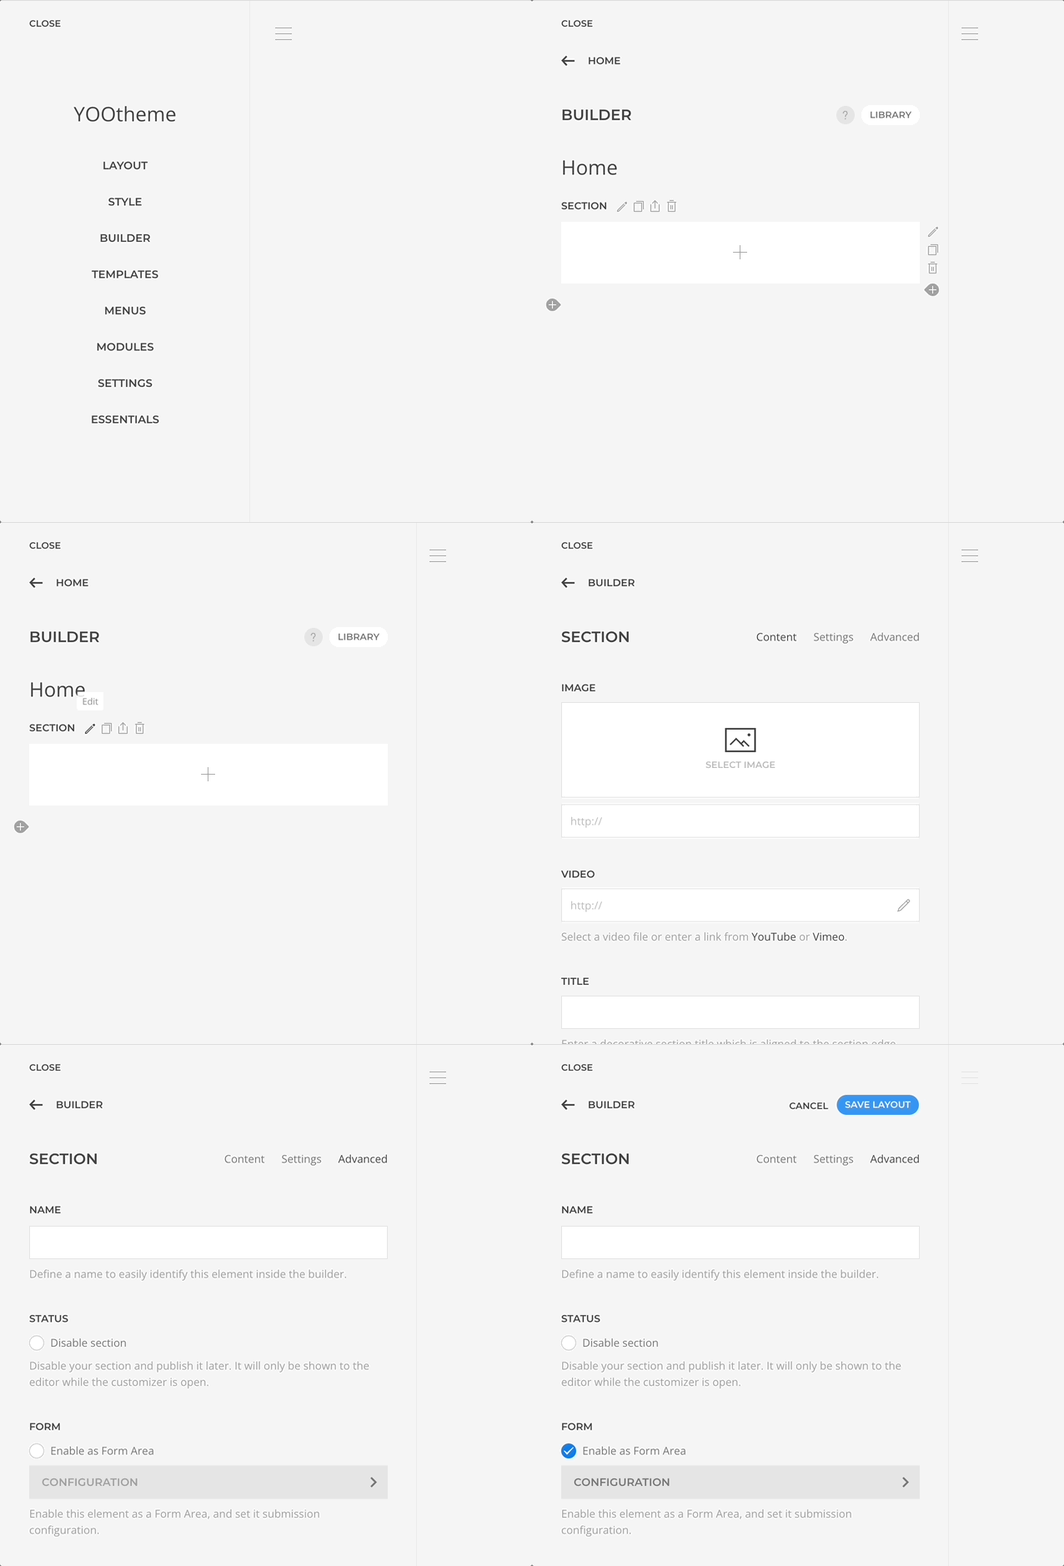
- Open the layout builder you want to create the form at.
- Create a new Section and access it Advanced Tab settings.
- Toggle the
Enable as Form Areacheckbox.
2. Add an After Submit Action
The secton has now been declared as a form area and we can add and after submit actions to greet the submitter with a custom message.
TIP
For more advanced scenarios, adding Email and SaveTo actions would be necessary to send an email and save the submitted data.
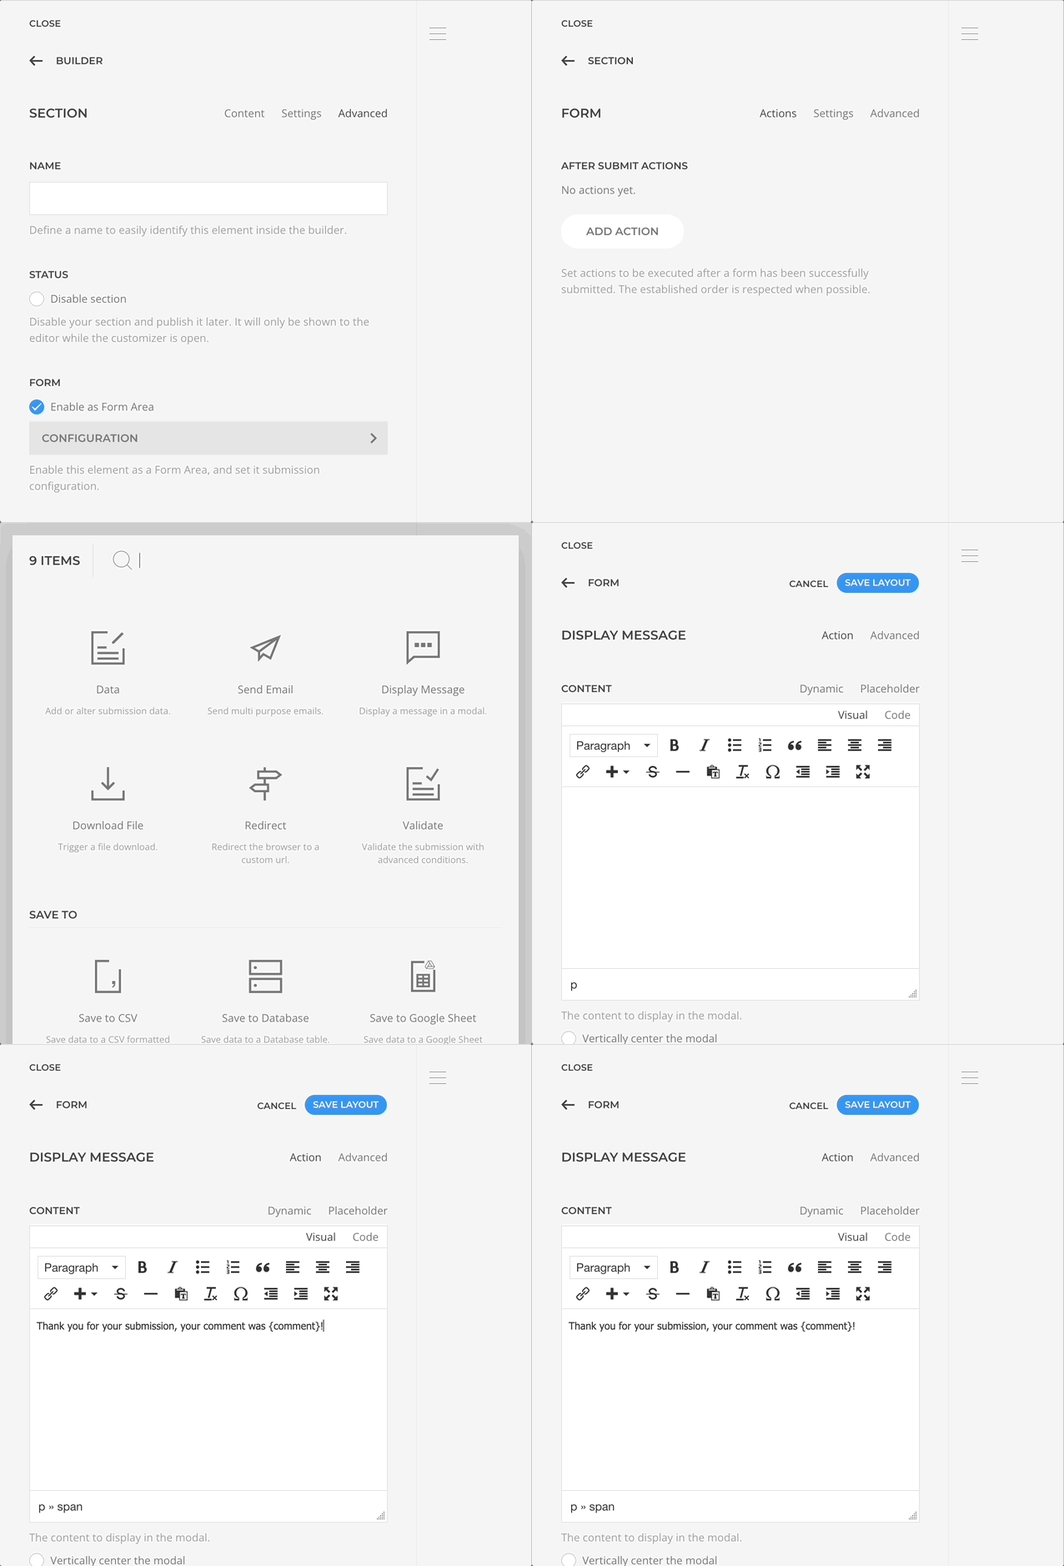
- Open the form area configuration created in the previous step.
- In After Submit Actions add a new action of the type Display Message.
- Input in the Message field
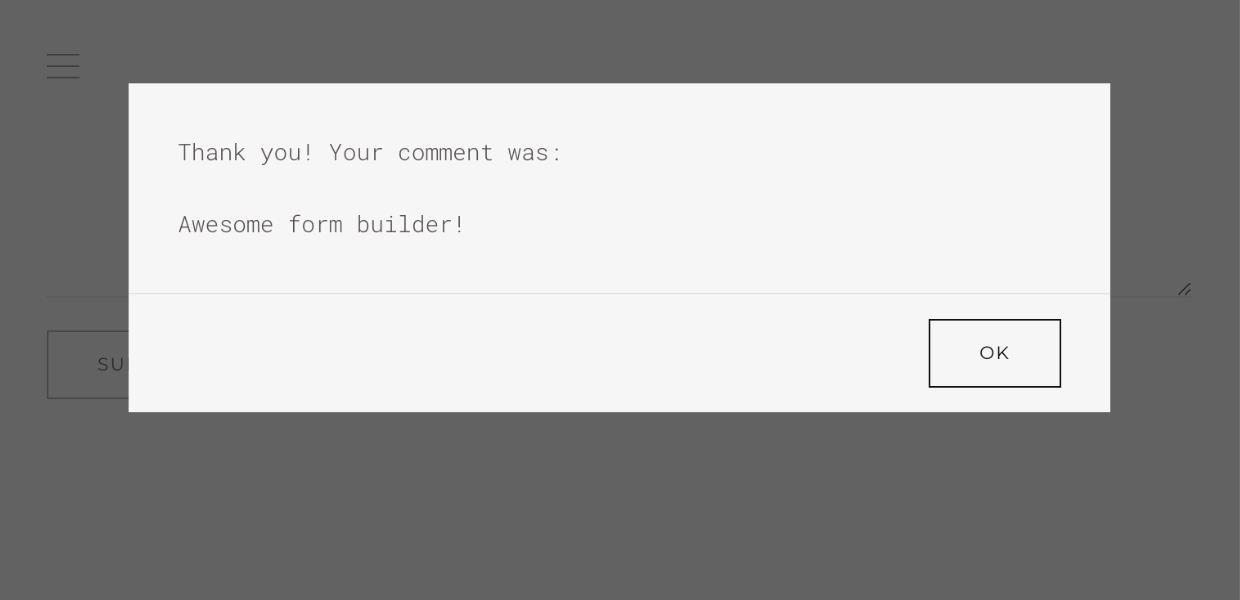
Thank you for your submission, your comment was {comment}!.
Notice the {comment} part
It's what we call Data Placeholders, and is one of the simplest and direct ways to reference submitted data.
3. Add Form Fields
Essentials comes with prebuild elements to structure a form as needed. Let's add a textarea to collect the comment and a submit button.
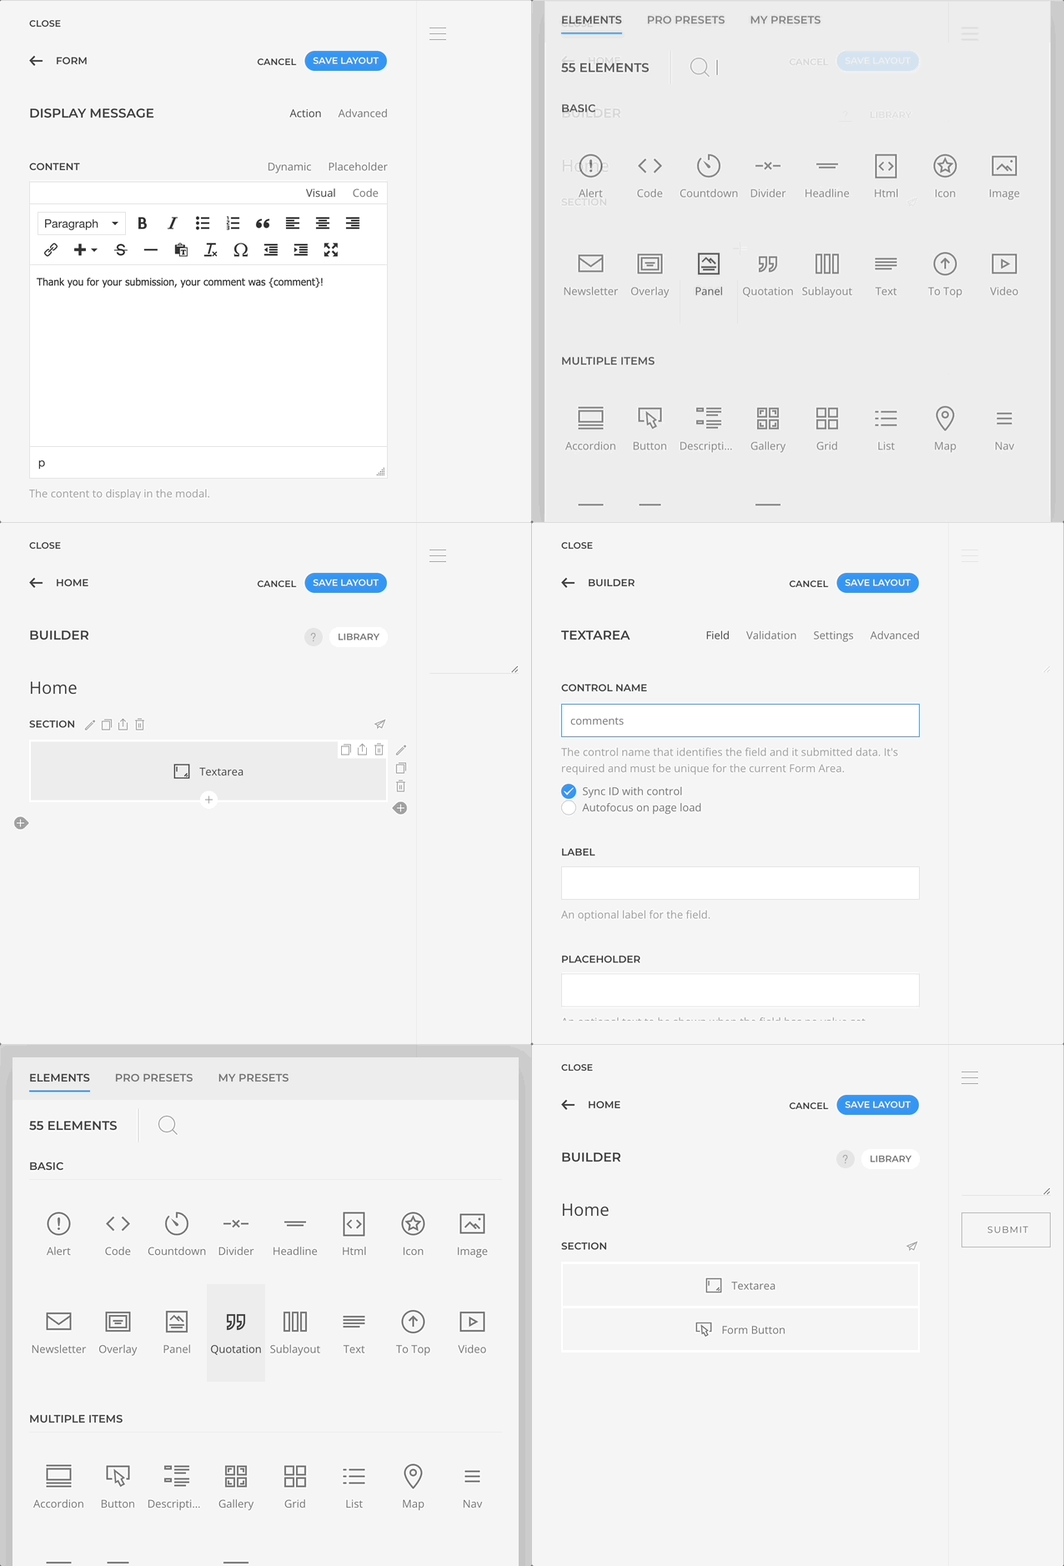
- Go back to the builder main panel and add an Textarea Element from the
Form Essentialsgroup. - Open it configuration panel and input
commentin the Control Name setting. - Repeat the process adding a Button Element which will render a submit button by default.
4. Test The Submission
Let's give it a try!
- Locate the form in the builder preview.
- Input a message in the Comment textarea and Submit.
You should see a modal with the submitted message!