
Essentials for YOOtheme Pro
Form Builder
Essential Forms lets you build fully functional forms directly within YOOtheme Pro's layout builder — no code required. Send emails, save submissions, display messages, or connect with external services, all configured visually.
How to enable Forms Addon
Open the Customizer -> Essentials -> Advanced panel and spot the Forms Addon checkbox. If is off, enable it, save the changes and refresh the page.
This walkthrough creates a simple comment form that displays a confirmation message on submission. By the end you'll understand the three core building blocks: the Form Element, Field Elements, and After Submit Actions.
Add a Form Element
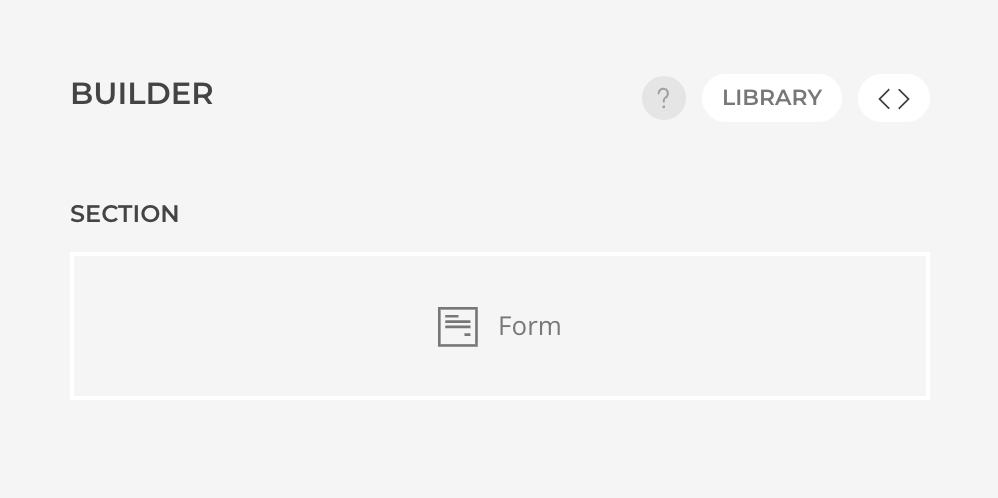
Every form starts with the Form Element — a sublayout element that acts as the form container. All fields and other content are placed inside it, and the whole sublayout is wrapped in a standard <form> tag.
- Open the layout builder where you want the form.
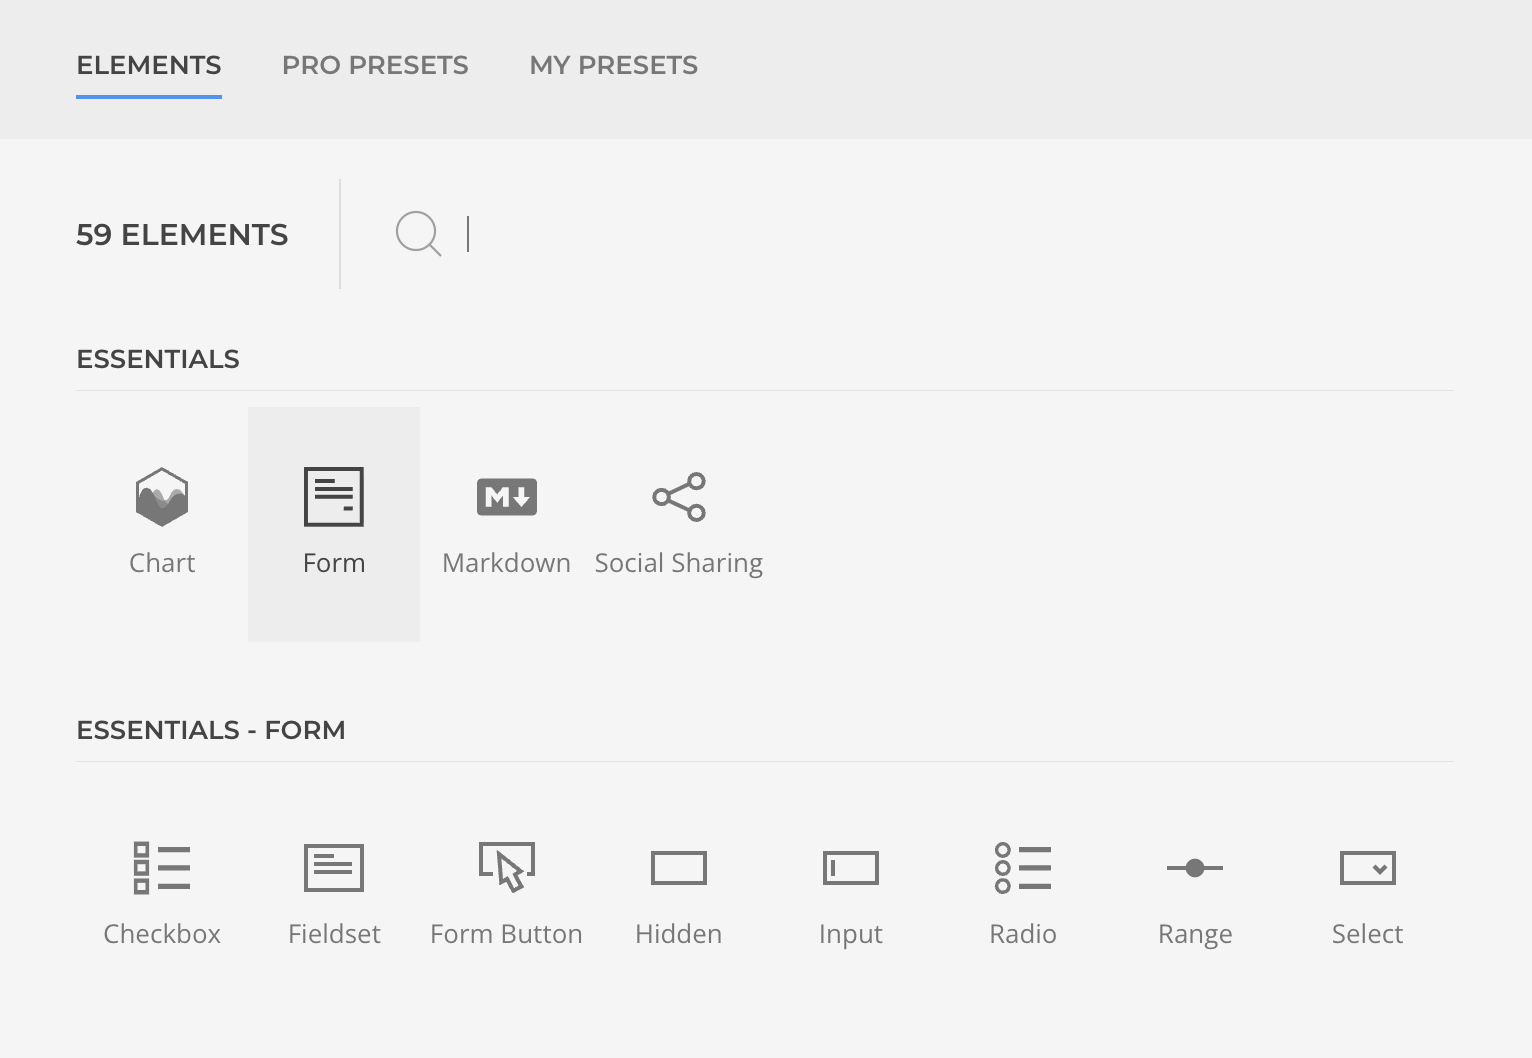
- Add a Form element from the Essentials group.
The element is now ready to accept fields and actions.
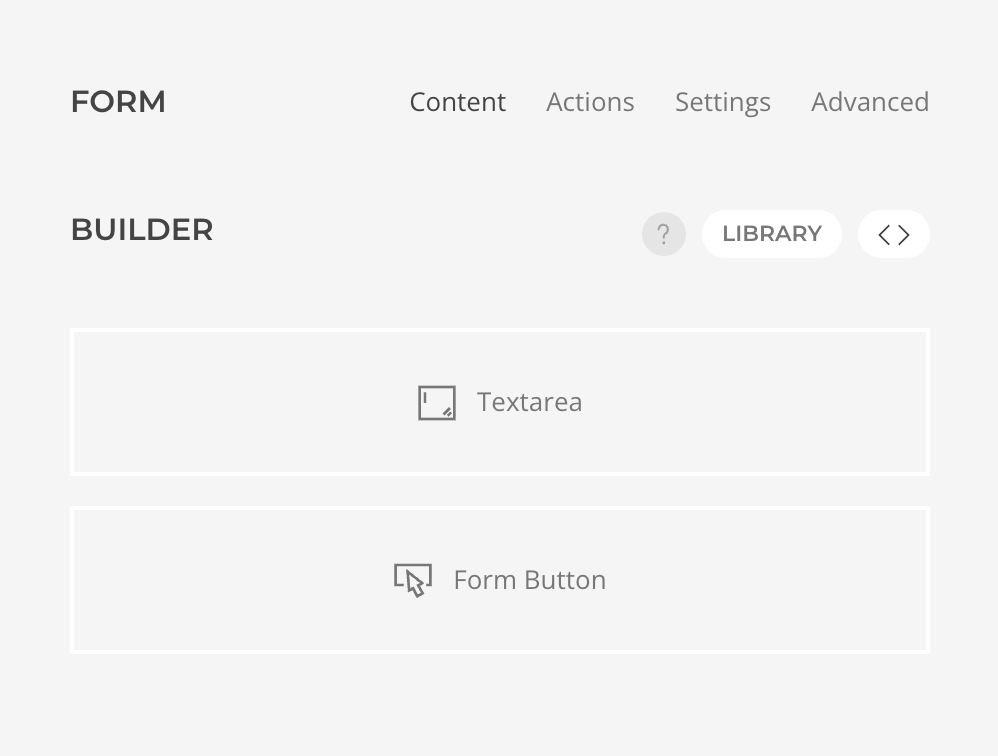
Add Form Fields
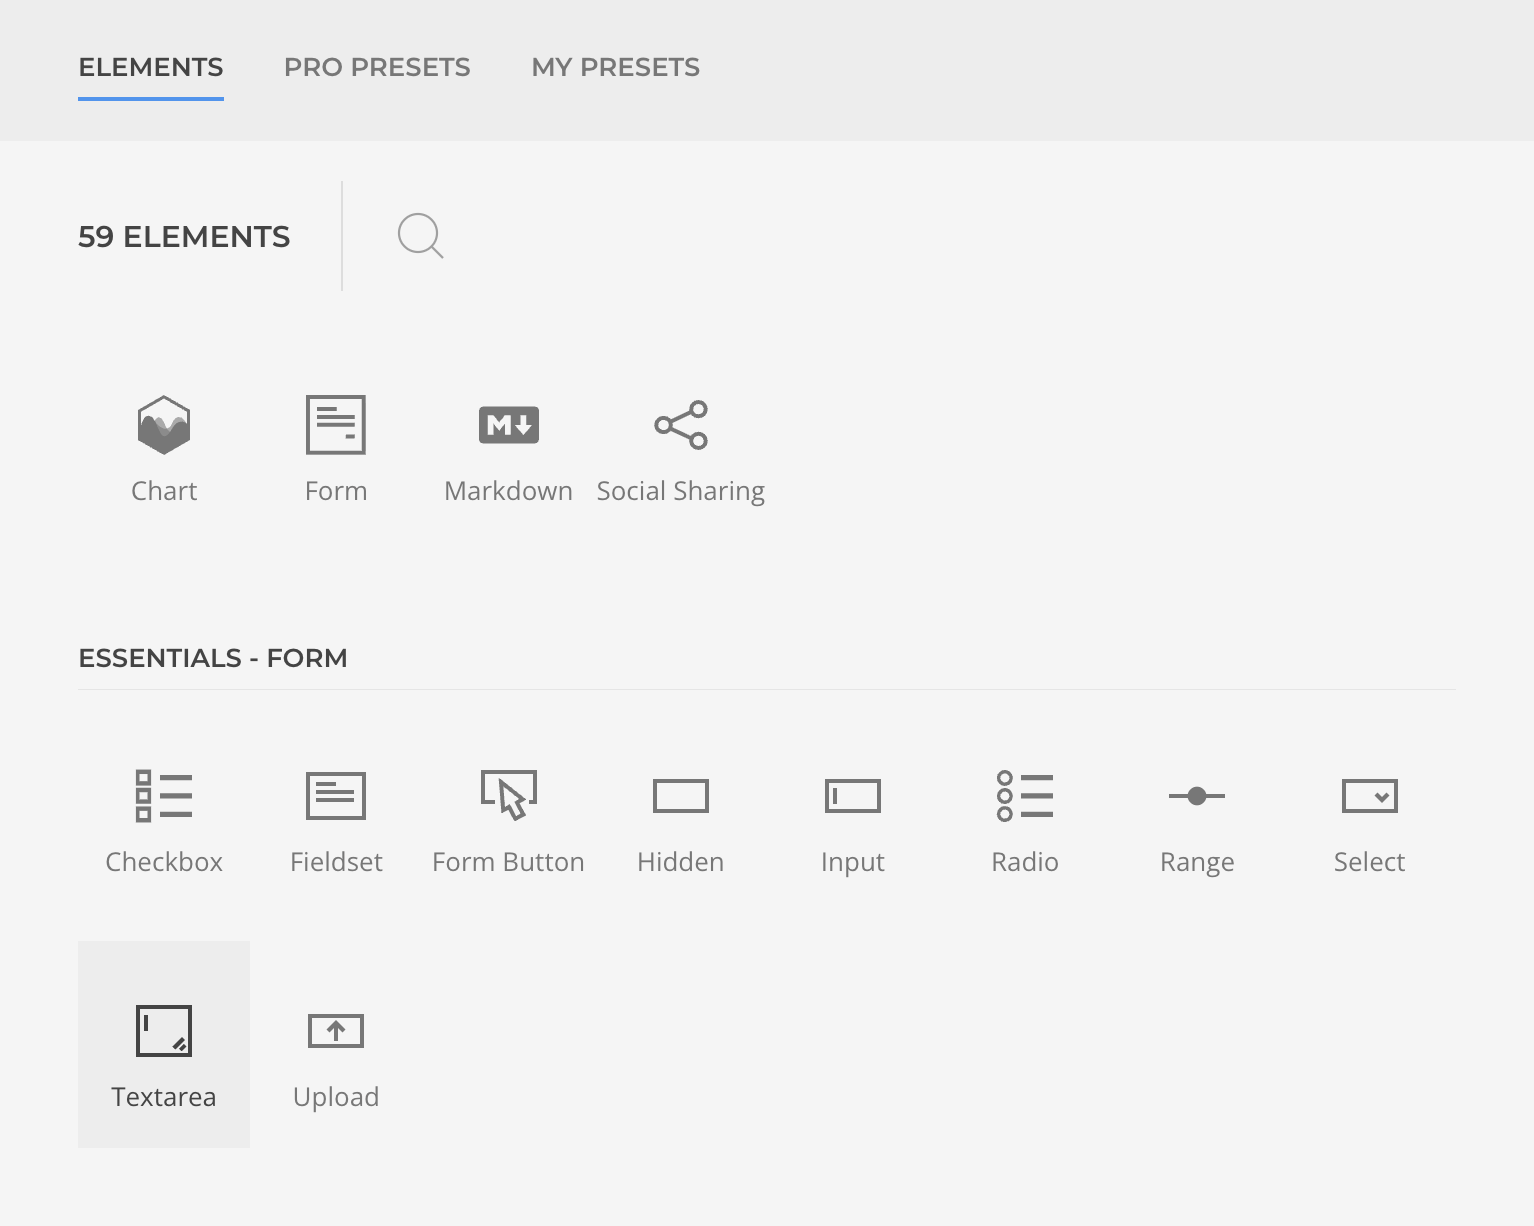
Essentials ships with a set of prebuilt field elements — inputs, selects, checkboxes, and more. For this example we'll add a textarea and a submit button.
- Open the Form Element and within the Content tab start a new layout.
- Add a Textarea Element from the Form Essentials group.
- Open the element settings and set the Control Name as
comment.
Add as well a Button Element from the same group, it will render a submit button by default.
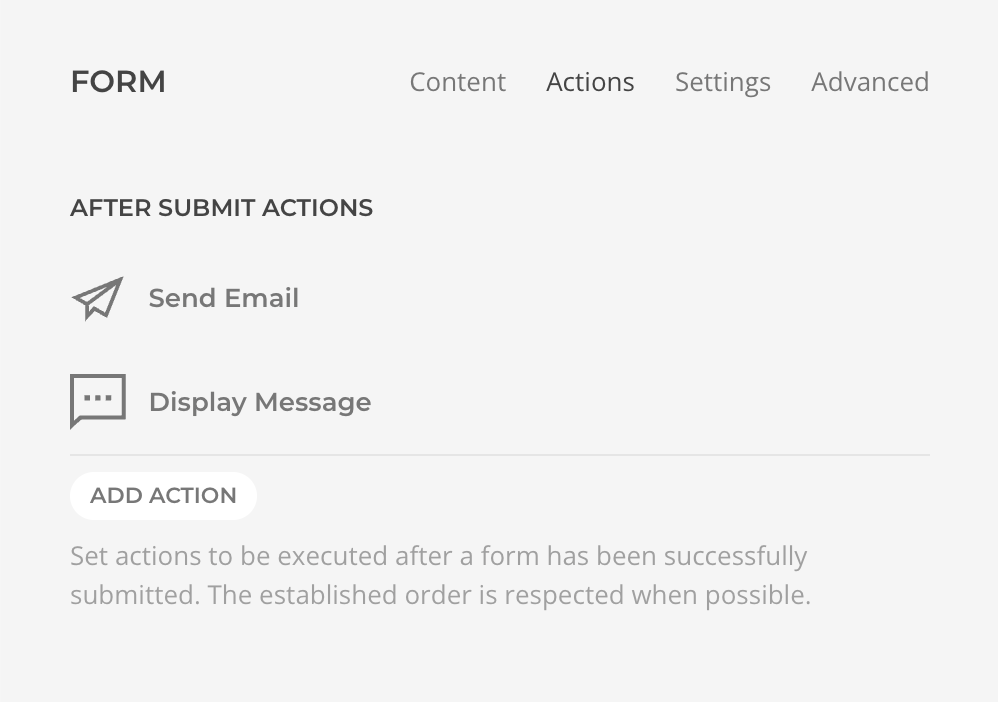
Add Form Actions
Actions define what happens when a user submits the form. They run sequentially, so you can chain multiple operations together. Here we'll display a simple confirmation message.
- Open the Form Element.
- Switch to the Actions tab and add a Display Message action.
- Set the Message to
Thank you for your submission, your comment was {comment}!.
Going further
For real-world forms you'll typically add more actions — for example an Email action to notify yourself and a Database action to persist submissions. See After Submit Actions for the full list.
What is {comment}?
The curly-brace syntax is a Data Placeholder — a simple way to reference submitted field values by their control name. Placeholders work in any action setting that accepts text.
Test Form Submission
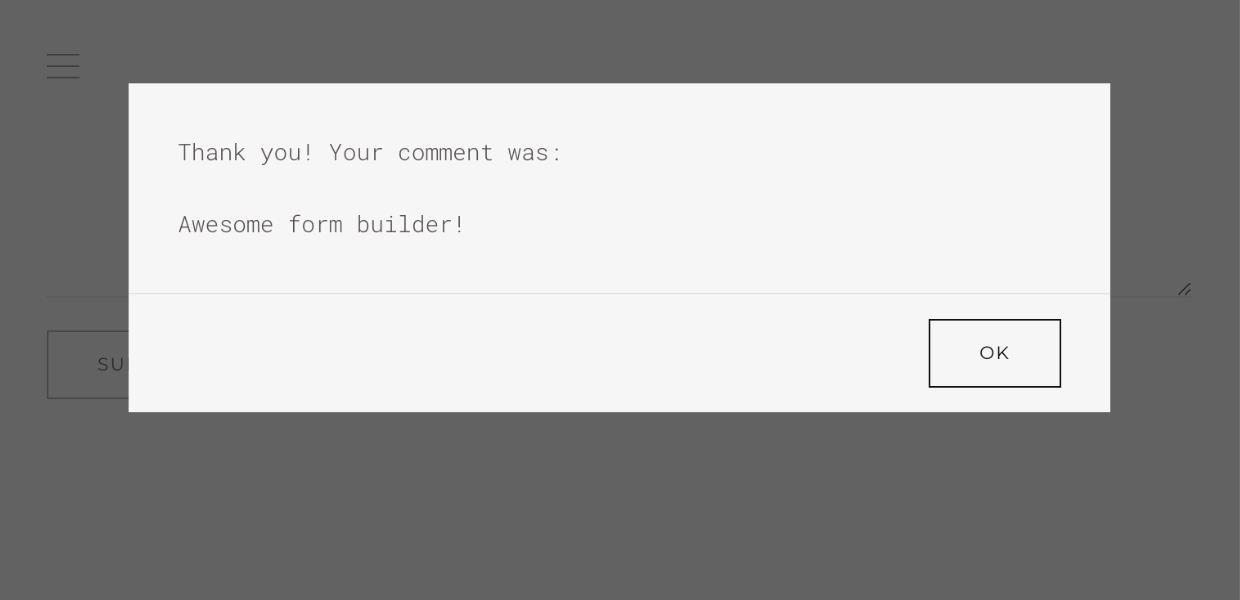
- Locate the form in the builder preview.
- Type a message in the Comment textarea and click Submit.
A modal should appear displaying the confirmation message with your submitted text.